
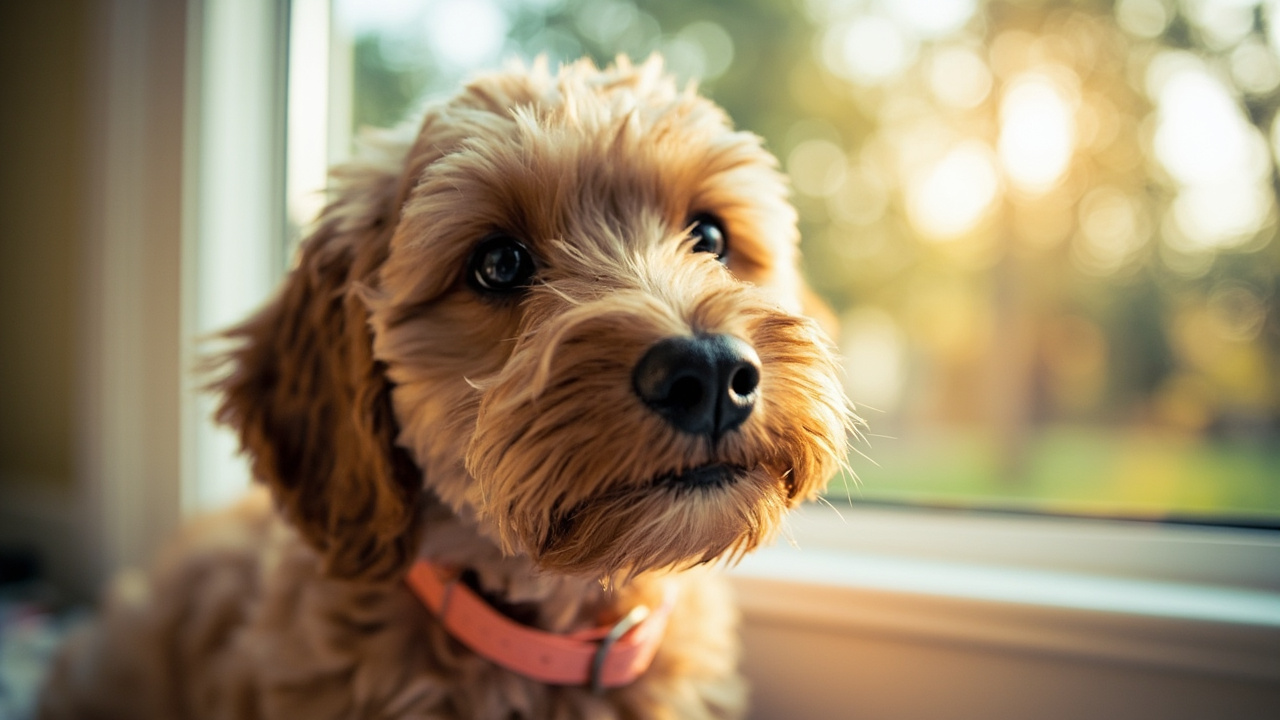
Quick answer: The single biggest improvement you can make to your dog photos is getting on the floor at dog-eye-level and using a window as your light source. Beyond that, three phone-camera settings make the difference: burst mode for action, focus lock on the eyes, and portrait mode for shallow depth of field. Avoid flash (red-eye, flat lighting, dilated pupils), avoid the dog looking at the sun (squinting), and always have a squeaky toy or treat ready for eye contact.
The One Observation That Fixes 80% of Dog Photos
We photograph our studio dogs every week for product listings, Instagram and the blog. The single biggest jump in quality came when we stopped standing and started kneeling. The change in perspective (from a standing adult to dog eye-level) is dramatic, and it is the same change we recommend to anyone who sends us a "this photo is not quite right" question.
Most phone-camera dog photos also fail because the light is wrong, or the dog is not engaged with the camera. Both have a simple fix: shoot near a window, with a squeaky toy or treat in the hand nearest the lens. The window gives shape to the dog's eyes; the toy gives direction.
1. Phone Camera Settings — Burst, Focus Lock, Exposure
- Burst mode. Hold the shutter button; the phone takes 10 photos per second. Dogs move. The hit rate of usable shots goes from about 1 in 5 to roughly 1 in 2 with burst mode.
- Focus lock. On iPhone and Android, long-press the dog's eye on the screen; a yellow box appears and the focus is locked. Re-compose the shot after locking.
- Exposure. Tap and drag the sun icon up or down on most phone cameras to brighten or darken the photo. For a white dog on a light background, slide down. For a black dog on a dark sofa, slide up.
- Portrait mode. Uses computational depth-of-field to blur the background. Works best for static, well-lit subjects.
- No flash. Flat lighting, red-eye, dilated pupils, and a startled dog. Use window light instead.
2. Natural Light — Windows, Golden Hour, the Mistake to Avoid
Window light is the single best light source for dog photography at home. North-facing windows give soft, even light all day. East-facing windows give warm morning light. West-facing windows give warm evening light. South-facing windows are harsh around midday.
Golden hour (the hour after sunrise and the hour before sunset) gives warm, low-angle light that flatters every coat colour. Most UK winter golden hours are 7–8 am and 3–4 pm. Summer golden hours are 5–6 am and 8–9 pm.
Avoid:
- Direct overhead midday sun — harsh shadows under the eyes.
- Mixed lighting — a window plus a ceiling lamp gives an unflattering yellow cast on one side of the face.
- Bright backgrounds — the dog becomes a silhouette if the sky is brighter than the dog's coat.
3. Eye Contact — Treats, Squeakers, the "Watch Me" Cue
Eye contact is the difference between a snapshot and a portrait. The standard technique:
- Hold a treat or squeaky toy near your camera lens, not your face.
- Say the dog's name, then "watch" or "look".
- The dog looks at the treat, which is at the camera.
- Shoot 10 frames in burst mode.
- Reward.
The squeaky toy is usually better than the treat for fast dogs, because it is a sound the dog cannot ignore, and you do not have to deliver it. For anxious dogs, use a high-value treat (cheese, chicken) and let the first 2–3 takes be "training" without the camera in their face.
4. Action Shots — Shutter Speed, Lead Safety, Where to Run
Action shots are the most rewarding and the hardest. Three things make the difference:
- Shutter speed above 1/500s. Most phones will pick this automatically in good light. In low light, action shots blur.
- Burst mode. The only way to catch the perfect "mid-stride" moment.
- Location. Choose a place the dog is comfortable running. For a flat-coated retriever, a long garden. For a working spaniel, an off-lead park. For a small breed, a kitchen with a treat trail.
For running shots, the dog usually looks best moving across the camera (left-to-right or right-to-left) rather than towards or away. On lead safety, never run a dog off-lead in an unfamiliar place for the sake of a photo. Use a long line if needed.
5. Composition — Rule of Thirds, Headroom, and the Collar as Focal Point
Rule of thirds. Place the dog's eye on one of the four intersections of the rule-of-thirds grid (turn on the grid in your phone's camera settings). The eye becomes the focal point.
Headroom. Leave more space in the direction the dog is looking. A dog looking left should have more space on the left of the frame.
The collar as focal point. If you want to show off the dog's collar, frame the shot with the collar sharp and the background blurred (portrait mode at a low f-stop). A bright collar or bandana is the easiest way to add a colour pop to the photo. Coral peach, sage and duck-egg blue are the most flattering against most coat colours. See our collars collection and bandana guide for Visa&Momo's photo-tested colourways.
Frequently Asked Questions
How do I take a good photo of my dog with my phone?
Three things: (1) Get on the floor at the dog's eye level. (2) Use a window as your light source — north-facing windows are the most flattering. (3) Use burst mode and lock focus on the dog's eye by long-pressing it on the screen. Avoid flash — it creates flat lighting, red-eye, and dilated pupils.
What is the best natural light for dog photography?
Window light, especially north-facing windows (soft and even all day) and east/west windows during golden hour. Avoid direct midday sun (harsh shadows) and mixed lighting (one window plus overhead lamp gives a yellow cast). The hour after sunrise and the hour before sunset are the most flattering outdoor light.
How do I get my dog to look at the camera?
Hold a squeaky toy or high-value treat near the camera lens, say the dog's name, then a cue like 'watch' or 'look'. Shoot 10 frames in burst mode. The squeaky toy is usually more reliable than a treat for fast dogs. For anxious dogs, spend 2–3 minutes on training without the camera before you start shooting.
How do I take sharp action photos of my dog?
Use burst mode (10+ frames per second), make sure the shutter speed is above 1/500s (most phones pick this automatically in good light), and lock focus on the dog's eye. Photograph the dog moving across the camera (left-to-right or right-to-left) rather than towards or away — it flatters most breeds.
Why does my dog's photo have yellow eyes?
Yellow or green eyes in dog photos are caused by **tapetum lucidum reflection** — the reflective layer behind the retina that helps dogs see in low light. It's normal anatomy. The yellow-eye effect is strongest with flash or harsh directional light. To minimise it: use natural window light, avoid flash, and shoot slightly off-axis (not directly into the eyes).
Looking for a collar that photographs well? See our collars collection for the colours Visa&Momo tests against every coat. For a bandana that catches the morning light, see our bandana guide. For more on the brand process behind our photos, see behind the scenes at Visa&Momo.
Collars collection · Dog bandanas guide · Behind the scenes at Visa&Momo · Dog walks London